Field guide Guides 12 min
Greenhouse Foundation Guide: Bases That Beat Frost
Greenhouse foundation options compared: treated lumber, gravel, pavers, and concrete, plus frost heave, leveling, permits, and computed base costs for 2026.
Most hobby greenhouses under about 10 by 12 feet do not need a concrete slab. A leveled treated-lumber perimeter or an anchored gravel or paver base carries them fine, drains better, and costs a fraction of a pour. Concrete is for permanence, large spans, and where local code forces it. The real foundation decisions are not slab-versus-no-slab; they are getting the base dead level, riding out frost heave instead of fighting it, and knowing when your jurisdiction wants a permit.
Get this wrong and the most expensive part of the project, the kit, pays for it. A greenhouse is built true and square at the factory. A base that isn’t true and square will rack the frame, bind the doors, and crack polycarbonate panels that were never designed to flex into a twisted opening. The foundation is the cheapest part of the build and the one that decides whether the rest of it works.
Do you need a foundation for a greenhouse at all?
You need a base. Whether it’s concrete is a different question.
Every greenhouse needs three things from the ground under it: it must be level, it must be square, and it must anchor the structure against wind uplift. A walk-in kit is a sail. The first real windstorm will find out whether you anchored it. What none of that requires, for a typical hobby greenhouse, is a four-inch concrete slab. The slab is one option among four, and for most buyers it’s the wrong one.
Here’s the honest hierarchy. A compacted gravel pad framed by treated lumber satisfies all three requirements (level, square, anchored), drains rainfall and condensation straight down instead of pooling on a hard floor, and costs roughly a fifth of a poured slab. That combination is why it’s the default recommendation for kits up to around 12 by 16 feet. Concrete earns its place only when you’re building something large, heated, and permanent, or when your building department demands it.
The four base options, told straight
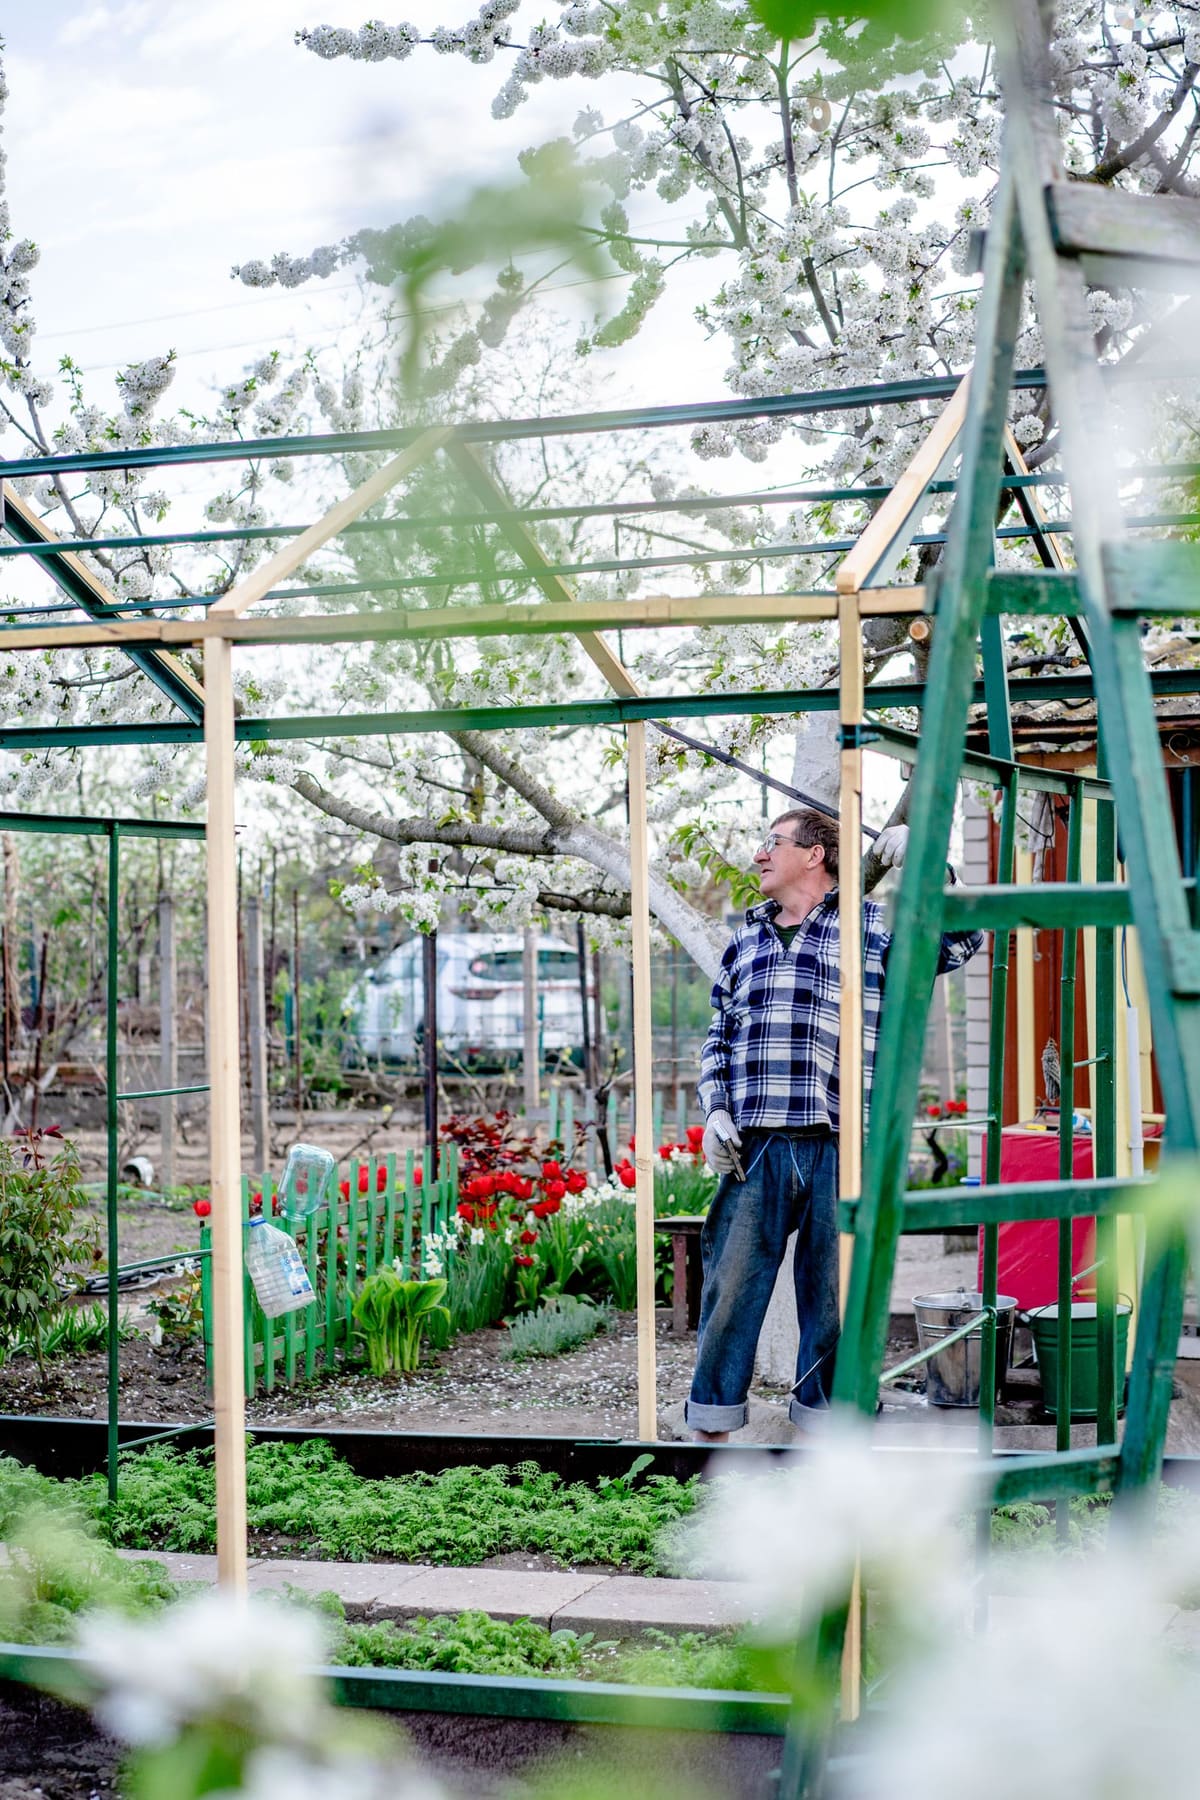
Treated-lumber perimeter
The workhorse for hobby kits. You build a rectangular frame from pressure-treated 4x4 or 4x6 timbers, level it, square it by checking the diagonals, and anchor it to the ground with rebar or ground anchors. The kit bolts to the wood.
One word matters: ground-contact. Standard pressure-treated lumber is rated for use above grade; ground-contact-rated lumber carries a higher chemical retention and is the only grade that belongs sitting on or in soil. Untreated lumber, or above-grade treated lumber used at ground level, rots, and a rotted base un-levels itself and takes your frame with it. Naturally rot-resistant species (cedar, redwood, cypress) are the premium alternative.
A wrinkle the kit makers flag: if you’re setting an aluminum-framed greenhouse on treated wood, put a barrier between them. Exaco notes that “the chemicals in treated wood can interact with aluminum,” so a strip of flashing, membrane, or even sill-seal foam between the timber and the frame protects the metal (Exaco Riga foundation guidance, verified June 2026).
Gravel or compacted crushed stone
The drainage king. A 4-to-6-inch bed of compacted crushed stone, or 3 to 4 inches for a small under-8-by-10 kit, gives you a surface that drains perfectly, levels with a rake and a screed board, and never holds standing water. Inside the greenhouse, gravel also moderates humidity and gives you a floor you can hose down. It pairs naturally with a treated-lumber perimeter: the lumber holds the gravel in and gives the kit a hard anchor point.
The trade-off is that gravel alone doesn’t give you a rigid edge to bolt to, which is why the lumber-plus-gravel combination is so common. On its own, gravel is the budget winner; framed, it’s the all-around winner.
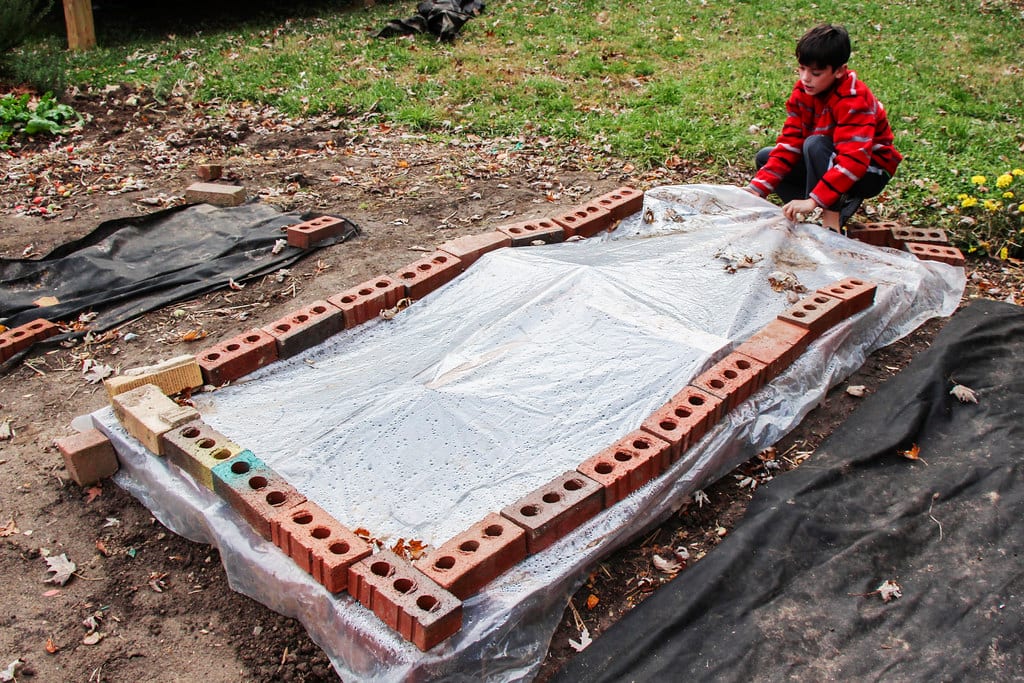
Pavers and compacted base
Concrete pavers over a compacted gravel setting bed split the difference between gravel and a slab. You get a hard, level, walkable floor that still drains through the joints, and individual pavers can be lifted and reset if a corner settles, something a monolithic slab can’t do. Pavers cost more than loose gravel and take more labor to lay flat, but for a buyer who wants a finished floor without the permanence and drainage downsides of concrete, they’re the considered choice. Exaco lists “concrete blocks/pavers” as a maximum-stability option alongside a poured perimeter.
Ground anchors and augers
The budget and the temporary path. Helical ground anchors or augers screw into the soil and tie the greenhouse down with cable or strapping, no perimeter base at all. A set of Ashman auger ground anchors is the cheapest anchoring there is for a lightweight kit on decent soil, or a structure you might relocate. Bootstrap Farmer, which sells high-tunnel ground posts, recommends a 4-foot anchor auger on the corners specifically as uplift prevention in high-wind areas. The limitation is obvious: anchors hold the structure down but don’t give you a level floor or a rot-proof sill. They’re an anchoring method, not a complete foundation, and they shine on high tunnels more than on heavy twin-wall kits.

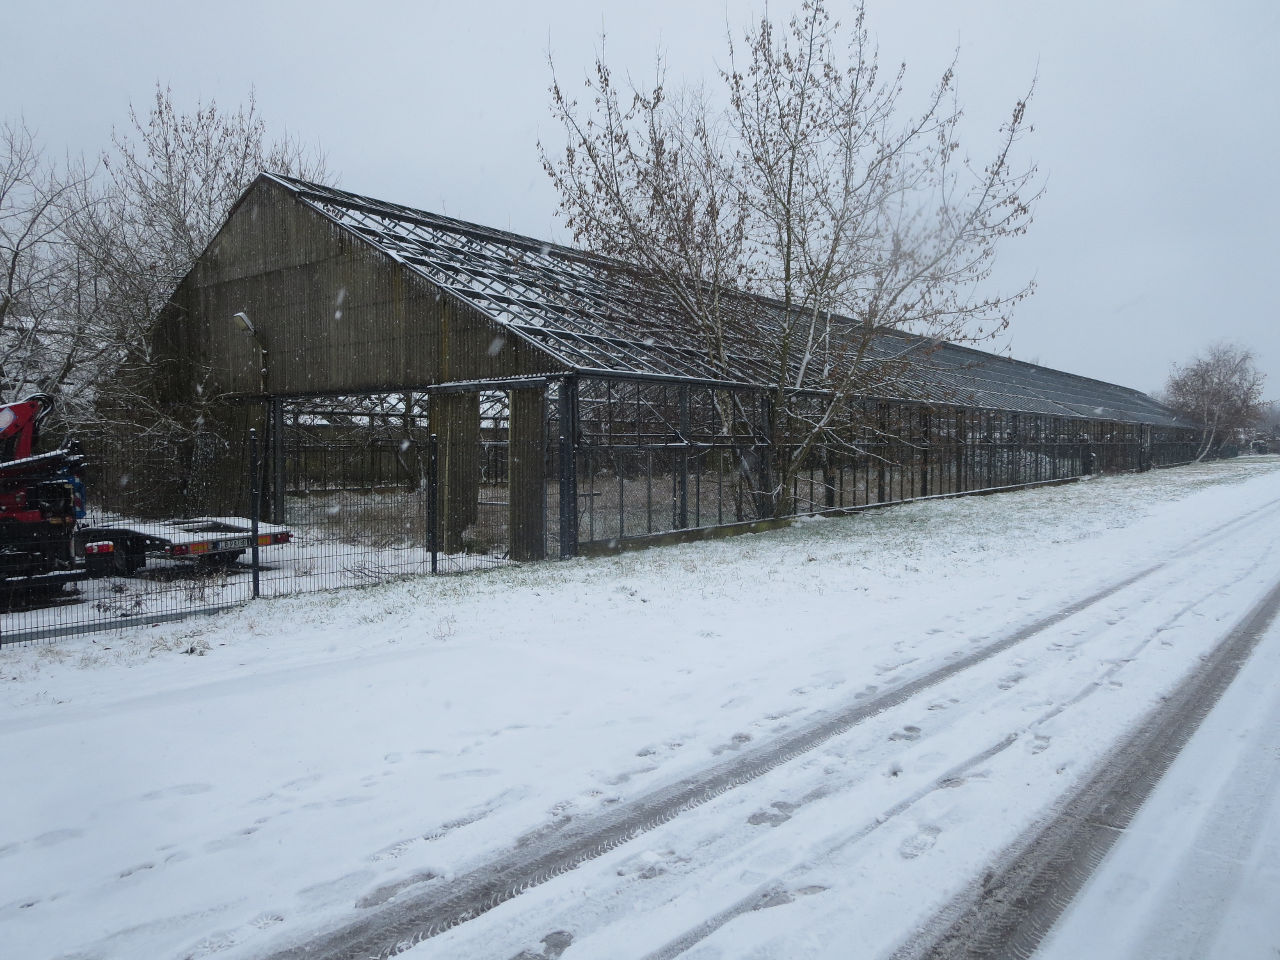
Frost heave: the thing that wrecks winter greenhouses
This is the section that matters most for a four-season grower, because frost heave is exactly the force a winter greenhouse lives in.
Frost heave happens when water in the soil freezes, forms ice lenses, and expands, lifting whatever sits on top of it. It does not lift evenly. One corner rises, another doesn’t, and a structure that was square in October is racked by January. For a greenhouse, racked means cracked glazing and doors that won’t latch.
Two facts decide your exposure. First, your frost line, the depth to which soil freezes in your area, which is a local number, not a national one. It runs near zero in the deep South and past 60 inches in northern Minnesota, Maine, and Vermont, with much of zone 6 sitting at 36 to 60 inches (frost-depth data by state, verified June 2026). The Twin Cities design depth is 42 inches; International Falls and Duluth push 60 to 80. Look yours up, then verify it with your local building department, because state averages hide enormous north-to-south swings.
Second, what you do about it. Traditional construction beats frost heave by digging footings below the frost line, so the ice forms above the bearing point and can’t lift it. In Toronto that’s a 4-foot dig. For a hobby greenhouse, that’s overkill and expensive.
The two practical answers for a hobby structure:
Float it. A gravel or treated-lumber base that sits on the surface isn’t anchored below the frost line, so it rides ground movement as a unit. The whole pad heaves and settles together, uniformly, instead of one footing lifting against another. This is why a small, rigid, crack-prone concrete slab is actually worse than a floating gravel pad in a hard-freeze climate: the slab can’t flex, so frost movement cracks it, while the gravel just moves and comes back. For most hobby kits in a cold climate, a well-drained floating base is the right call. Drainage is half the battle, because dry soil heaves far less than wet soil.
Insulate the frost out. For a permanent or heated build, a frost-protected shallow foundation (FPSF), codified in IRC Section R403.3, wraps the foundation perimeter in rigid foam (vertical insulation plus a horizontal “wing” extending out a few feet) to hold the frost depth shallow. It lets footings go as little as 16 inches deep in most of the U.S. instead of four feet, by trapping geothermal heat and, in a heated building, the structure’s own heat loss (Building Advisor / InterNACHI, IRC R403.3, verified June 2026). An unheated greenhouse needs the thicker, wider version, since it can’t lean on interior heat. The FPSF is the engineered answer for a serious year-round greenhouse where you don’t want to dig to China.
Base option vs kit class: the matrix
There is no single right base. The right base is a function of how heavy your kit is and how hard your winter freezes. This table scores each base against the kit it’s serving. Cost band is relative installed effort and material; frost-heave resistance assumes the base is well-drained.
| Base option | Best kit class | Cost band | Build difficulty | Permanence | Frost-heave resistance | Code-trigger likelihood |
|---|---|---|---|---|---|---|
| Ground anchors / augers | Mini and walk-in poly, high tunnel | $ | Easy | Low | Moderate (floats, anchored) | Very low |
| Treated-lumber perimeter | Budget aluminum 6x8, most hobby kits | $$ | Moderate | Medium | High (floating, drains) | Low |
| Gravel pad (framed) | Budget to premium twin-wall, high tunnel | $$ | Moderate | Medium | High (drainage is the win) | Low |
| Pavers on compacted base | Premium twin-wall Riga / Monticello class | $$$ | Harder | Medium-high | High (resettable, drains) | Low-moderate |
| Concrete slab | Large / heated / permanent builds | $$$$ | Hard (or hired) | High | Low if small and rigid; high only with FPSF | Moderate-high |
The pattern to read: gravel and lumber win for almost every hobby kit because they float and drain, the two things that beat frost. Concrete only pulls ahead at the large, heated, permanent end, and even there a bare slab without frost protection is a liability in a hard-freeze zone. A premium kit like an Exaco Riga is happiest on a leveled gravel or paver base, which is exactly what Exaco itself recommends over a slab.
What a base actually costs in 2026
Here’s the part the manufacturers don’t put in the brochure: real material costs for the two most common hobby footprints, computed from current verified 2026 cost-guide figures (crushed stone roughly $25 to $60 per cubic yard plus $50 to $300 delivery; ground-contact 4x6 lumber carrying a 30-to-50% premium over standard; concrete slab $6 to $12 per square foot installed, near $8 nationally, or about $5 per 60-pound Quikrete bag for a DIY pour). These are material-and-base estimates, not full installed prices, and they exclude permits and your own labor.
| Base (materials) | 6x8 (48 sq ft) | 10x12 (120 sq ft) |
|---|---|---|
| Treated-lumber perimeter (4x6 ground-contact + anchors) | ~$125 | ~$170 |
| Compacted gravel pad (4 in deep, delivered) | ~$110 | ~$150 |
| Paver pad (12x12 pavers + setting bed) | ~$170 | ~$335 |
| Concrete slab, DIY bagged (4 in) | ~$215 | ~$540 |
| Concrete slab, pro-poured (~$8/sq ft) | ~$385 | ~$960 |
The takeaway is stark on the 10x12: a gravel pad runs about $150, a pro-poured slab about $960. That’s a $800 swing, on a base where, for most hobby kits in a freeze climate, the $150 option is also the better-performing one because it drains and floats. Concrete’s premium buys permanence and a hard floor, not frost resistance. Spend the saved $800 on heating, or on a better kit.
Leveling: the step everyone botches
Level and square are not the same thing, and a greenhouse needs both.
Level means flat in every direction; check it with a long board and a real level, not by eye, and not just along the two long sides. Square means the corners are true right angles, which you verify by measuring the two diagonals of the rectangle: if they’re equal, it’s square. A base can be perfectly level and still be a rhombus, and a rhomboid base will fight every panel above it.
Owners on greenhouse forums describe the failure mode in detail: panels that won’t seat, panels that billow and pop out under wind because the glazing bars don’t line up, doors that bind or won’t latch, frames that need timber wedged behind them to stop the flex. Almost every one of those stories traces back to a base that was close enough, which is not the same as level and square. The kit was manufactured to a tolerance the base didn’t meet.
Do the diagonals before the kit ships. Recheck level after the base settles through a rain. It is far easier to shim a gravel pad in an afternoon than to disassemble a half-built greenhouse to fix a foundation you rushed.
When do you need a permit?
Factual answer, not legal advice, and the honest version ends with “call your building department.”
Under the International Residential Code, the relevant exemption (IRC R105.2) reads that no permit is required for “one-story detached accessory structures used as tool and storage sheds, playhouses and similar uses, provided that the floor area is not greater than 120 square feet” (UpCodes, IRC R105.2, verified June 2026). Many jurisdictions adopt that 120-square-foot line; some use 200. A 10-by-12 greenhouse lands at exactly 120 square feet, right on the edge, which is one reason that footprint is so popular and so worth confirming before you buy.
Three caveats that catch people:
The exemption is from the permit, not from the code. You can build without a permit and still owe compliance with wind-anchoring and setback rules.
Zoning is separate from building permits. Setback distances from property lines, easements, and HOA rules are their own approval, and they don’t care about the 120-square-foot number.
A foundation can trigger a permit a structure wouldn’t. Pouring a permanent concrete foundation can push an otherwise-exempt greenhouse into permit territory in some jurisdictions, even if the structure itself is small. The base decision and the permit decision are linked.
Wind-zone anchoring is the one technical requirement that applies regardless of size in many areas. Check both the building department and the planning/zoning office, and do it before the freight truck is scheduled, not after.
Where to go from here
A foundation is the start of a system, not the whole of it. Once the base is sorted, the decisions that follow are the kit, the glazing, and the heat.
If you’re shopping the premium twin-wall tier, the Exaco Riga review covers the German onion-arch line the foundation matrix above points to, and the Riga is the clearest case of a kit that wants a leveled gravel or paver base rather than a slab. If you’re weighing a kit against a hoop house, high tunnel vs greenhouse kit is the category decision, and high tunnels are where ground anchors genuinely shine. And if the whole reason you’re building is to grow through the cold, our winter growing guide is the honest answer to what the foundation is ultimately for.
Get the base level, get it draining, and let it float through the frost. The kit on top is the part you’ll brag about. The base is the part that decides whether you get to.
Accessories worth buying on day one
A short list of the gear that turns a level base into a finished, working greenhouse.
- AcuRite indoor/outdoor digital thermometer: a remote-probe thermometer that tells you the overnight low inside the finished structure, so you know what your base and glazing are actually holding.
- 4-tier greenhouse staging shelves: tiered benching that organizes plants off a gravel or paver floor and makes the interior usable from the first season.
As an Amazon Associate, Defy Frost earns from qualifying purchases.